Plant Care
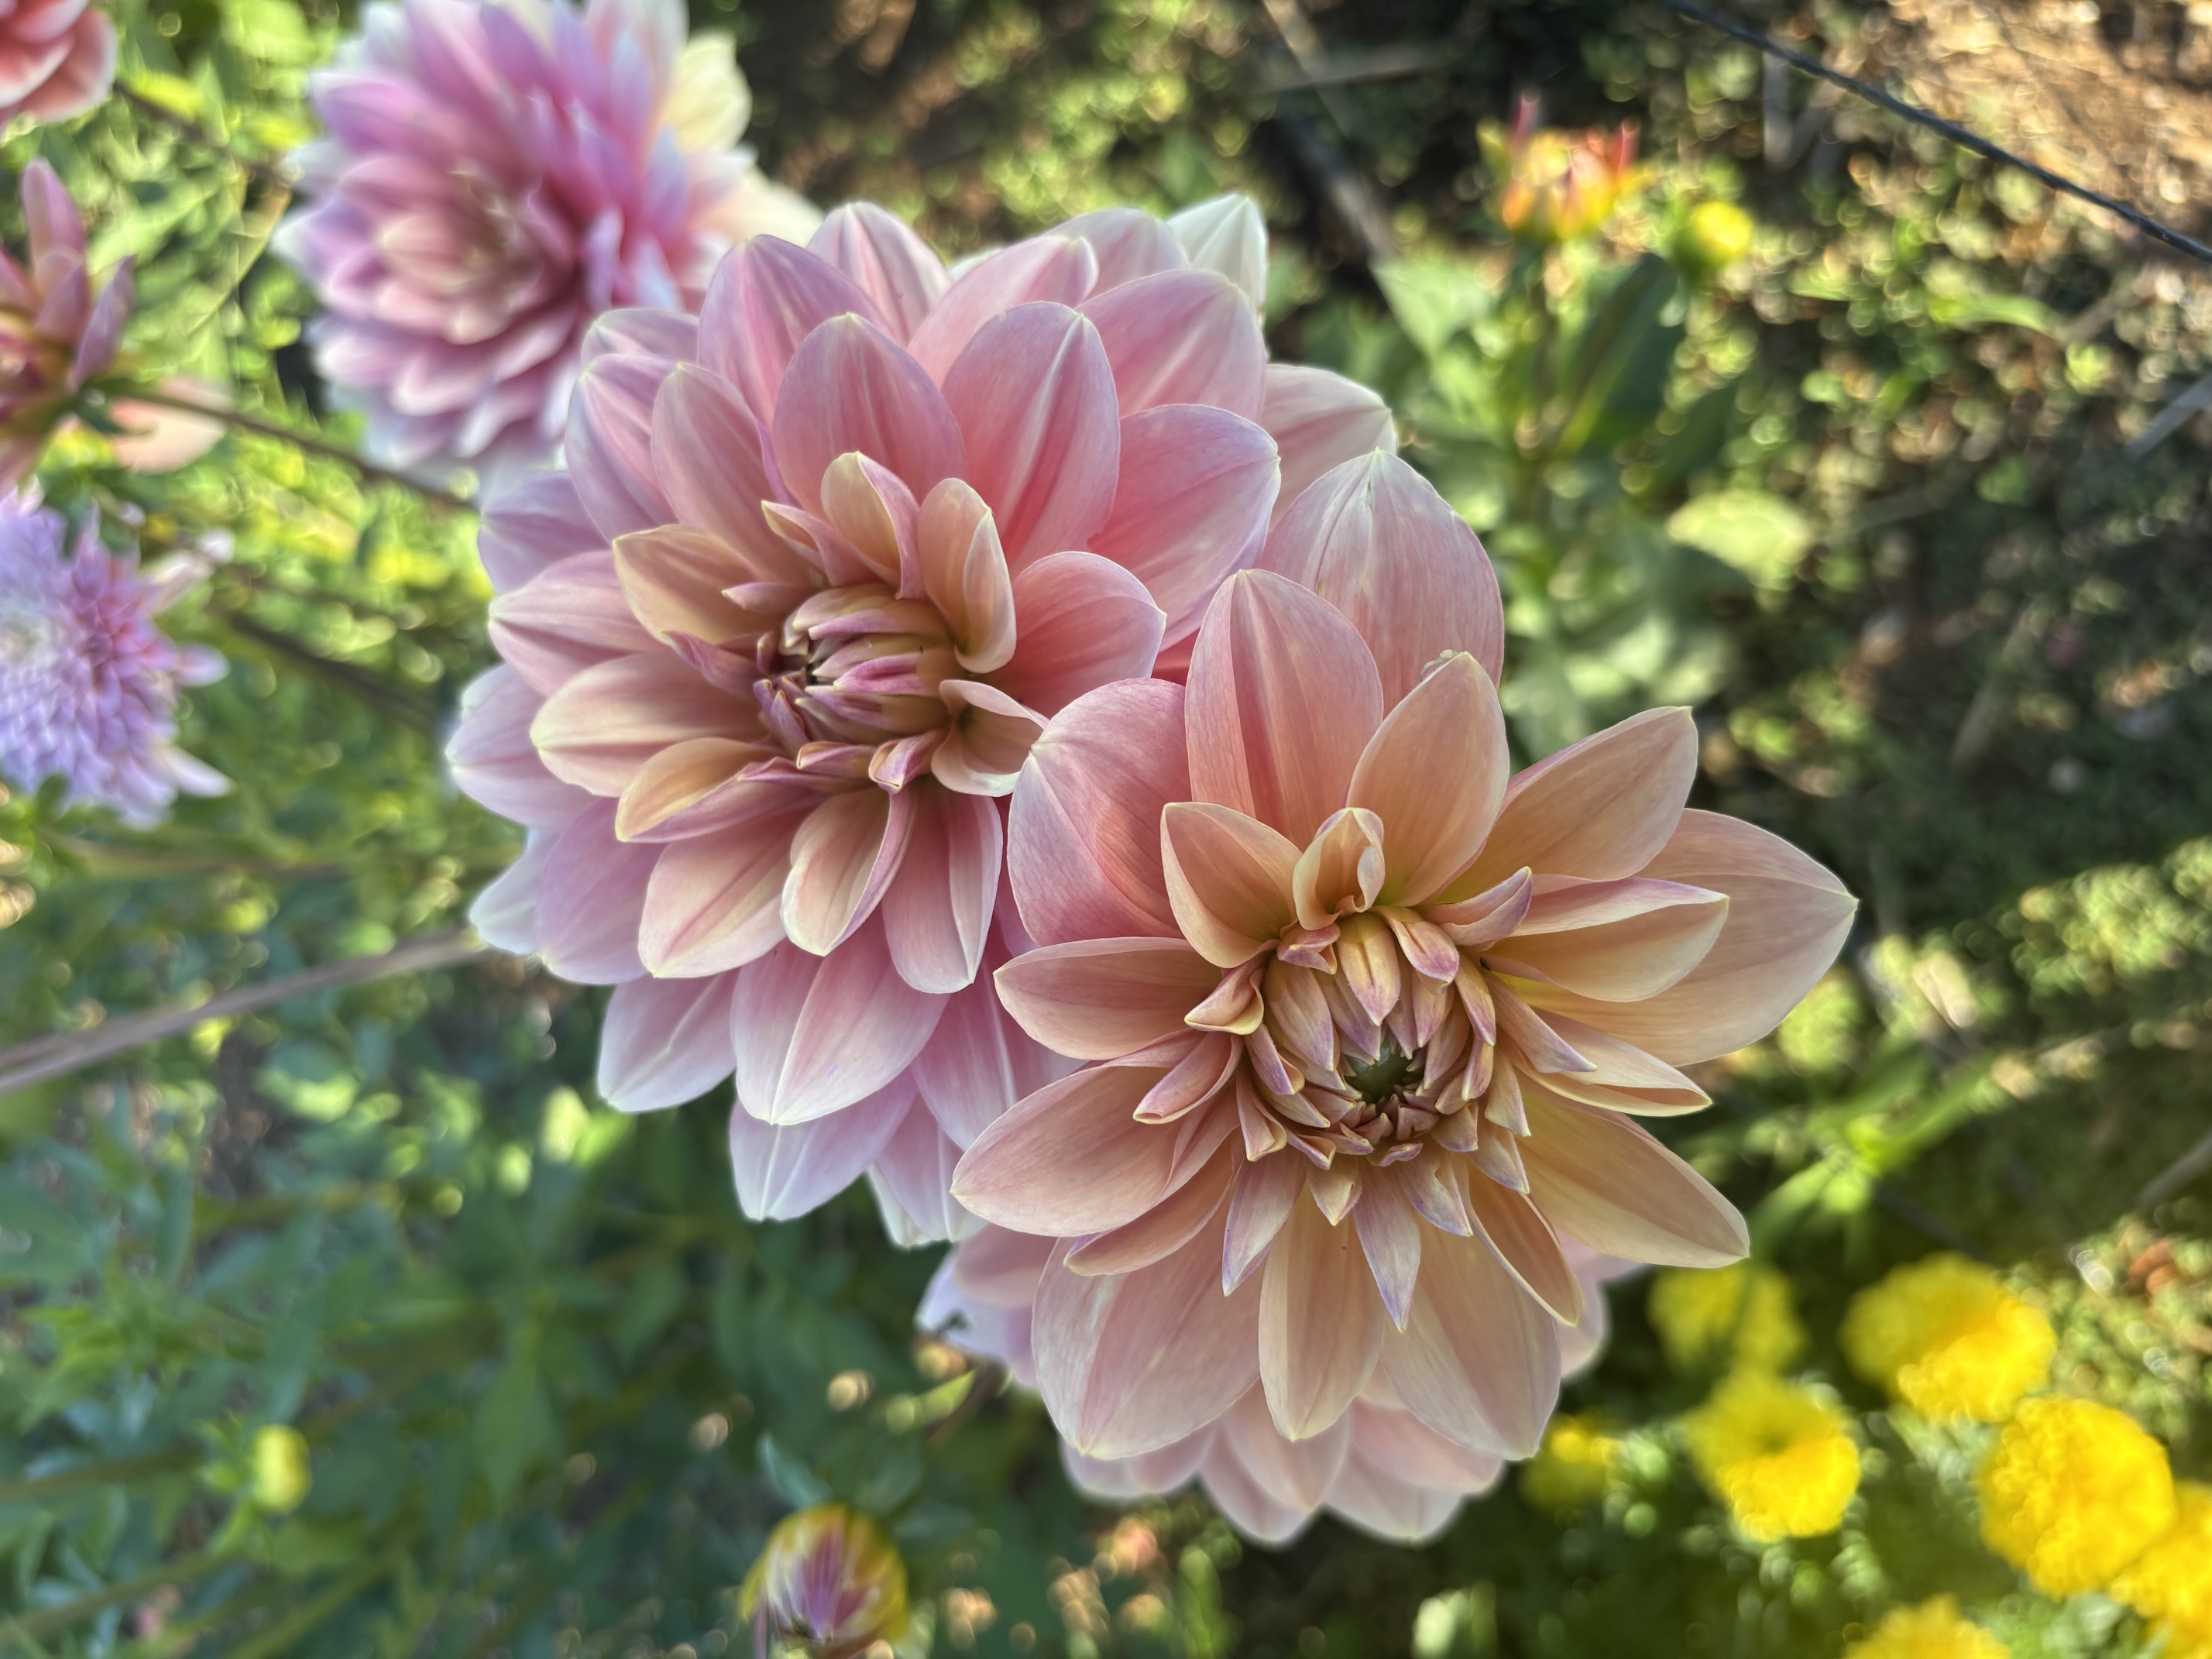
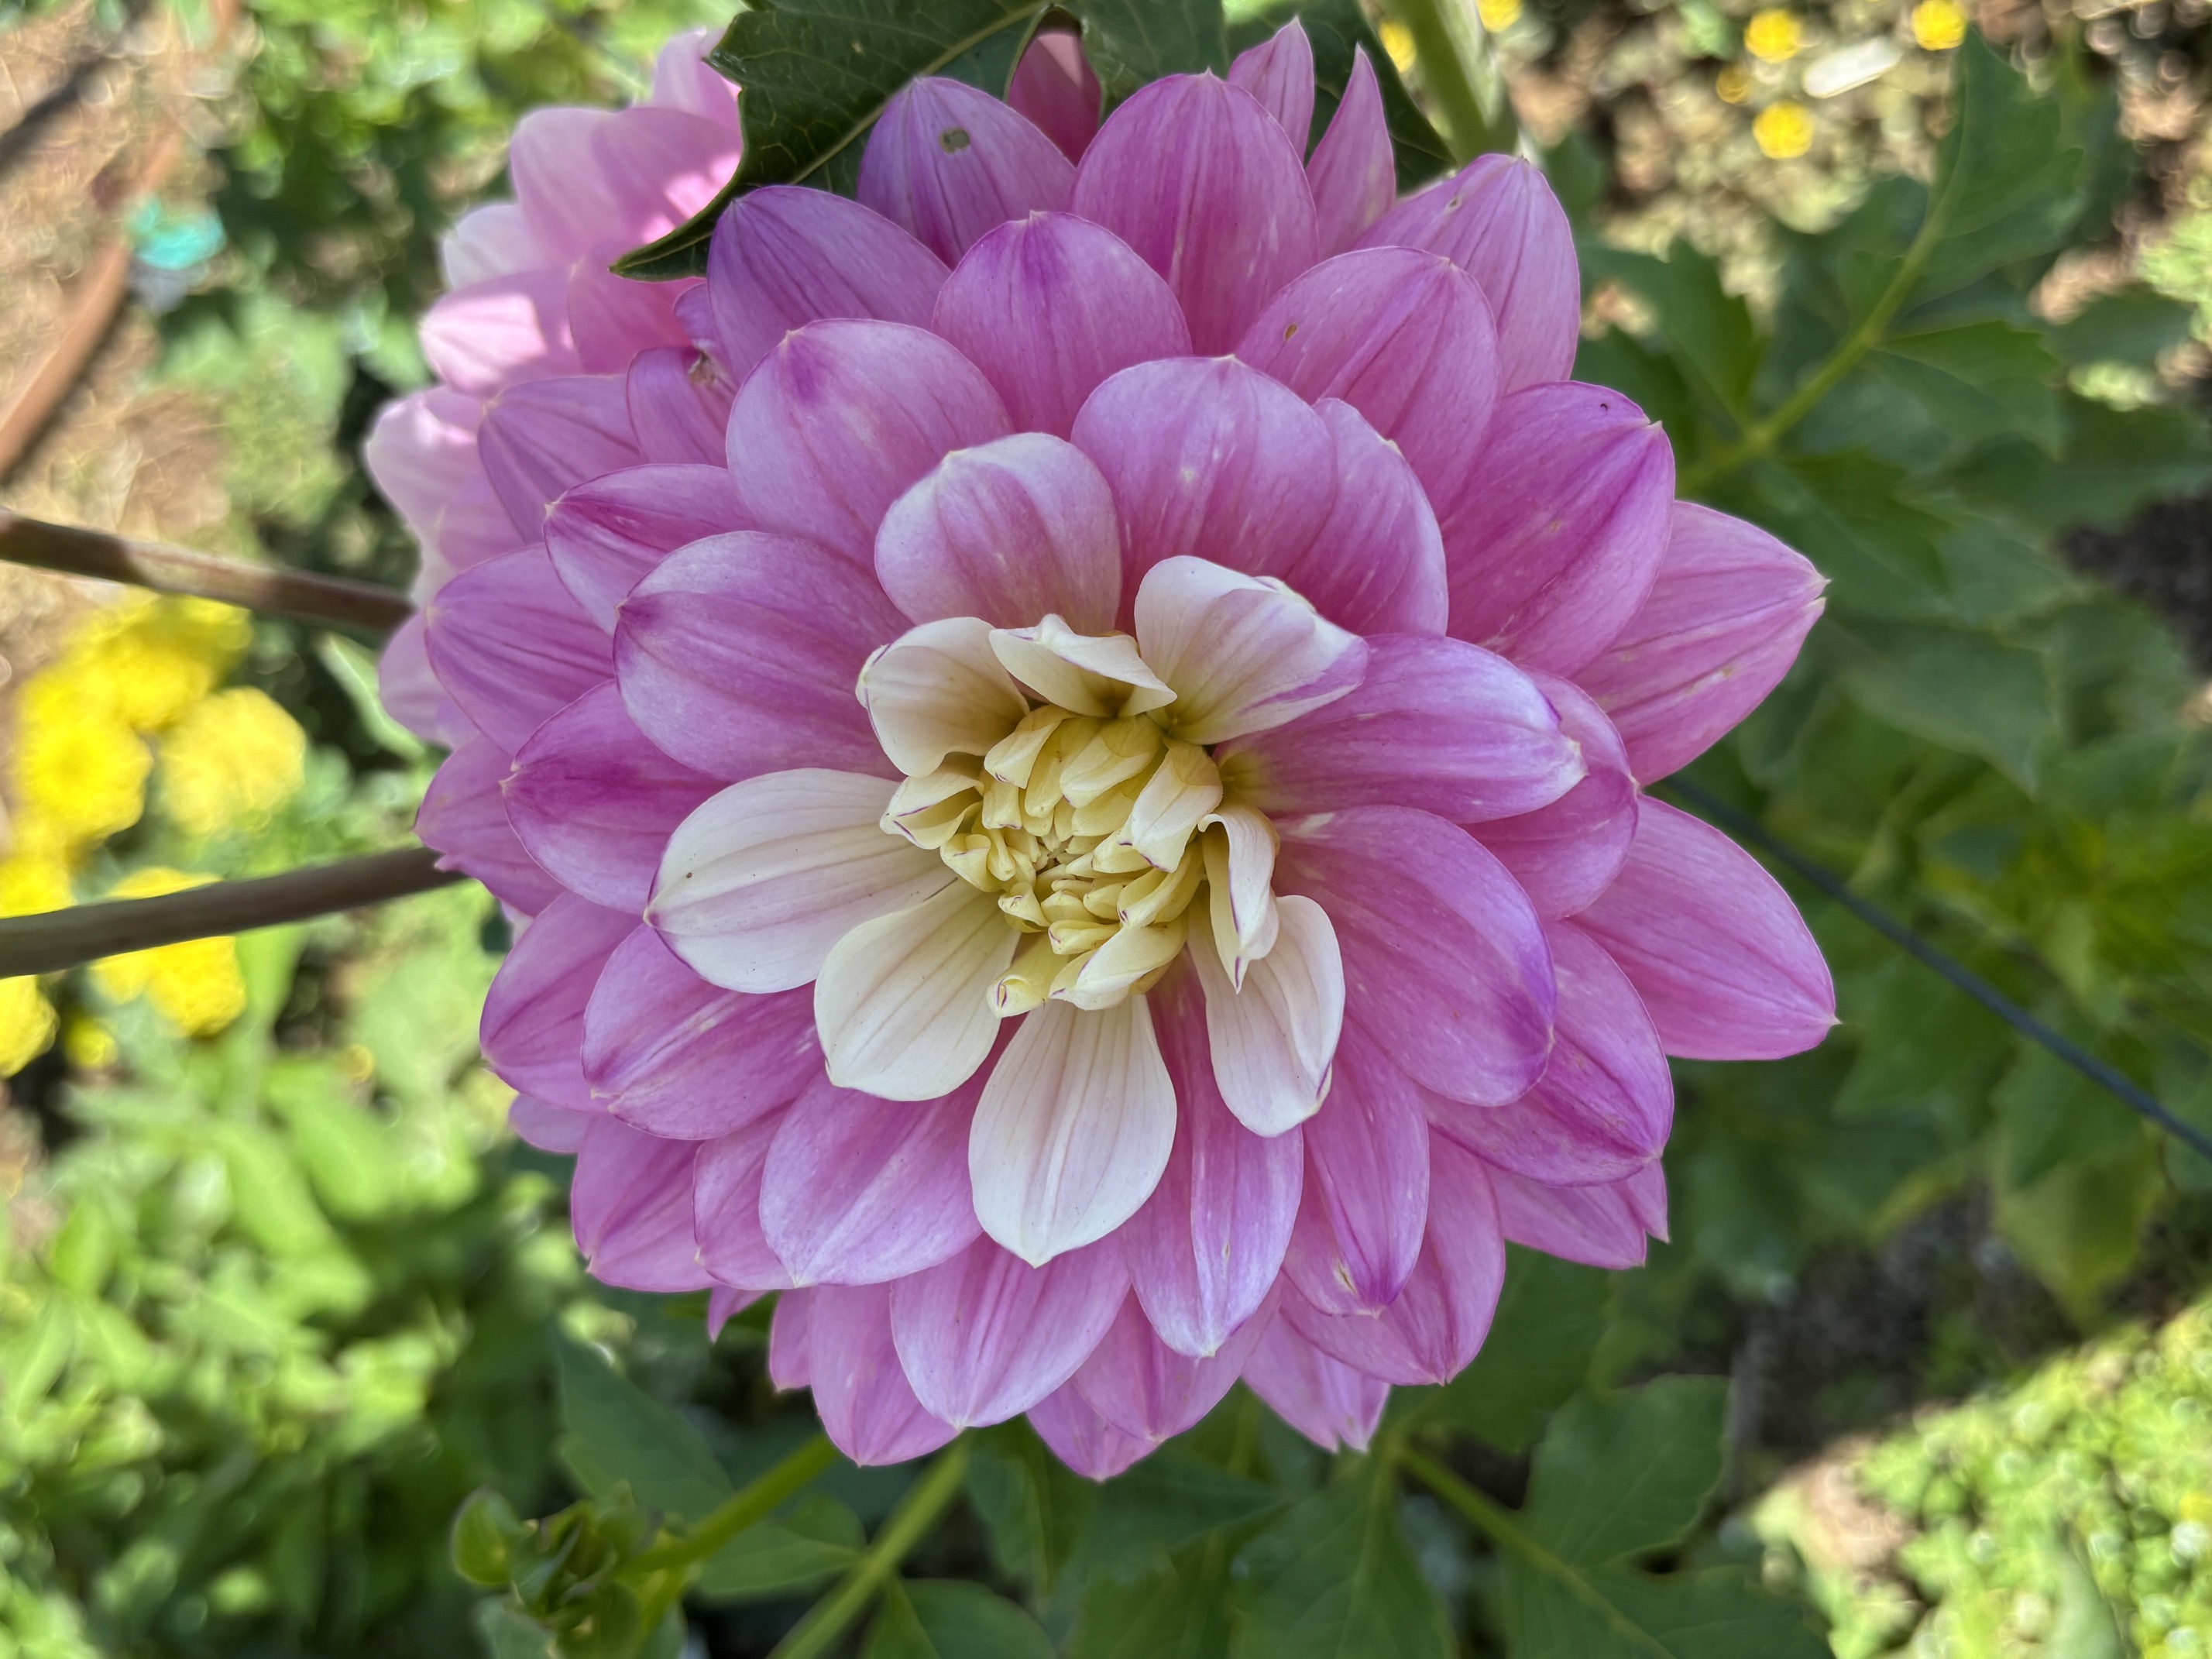
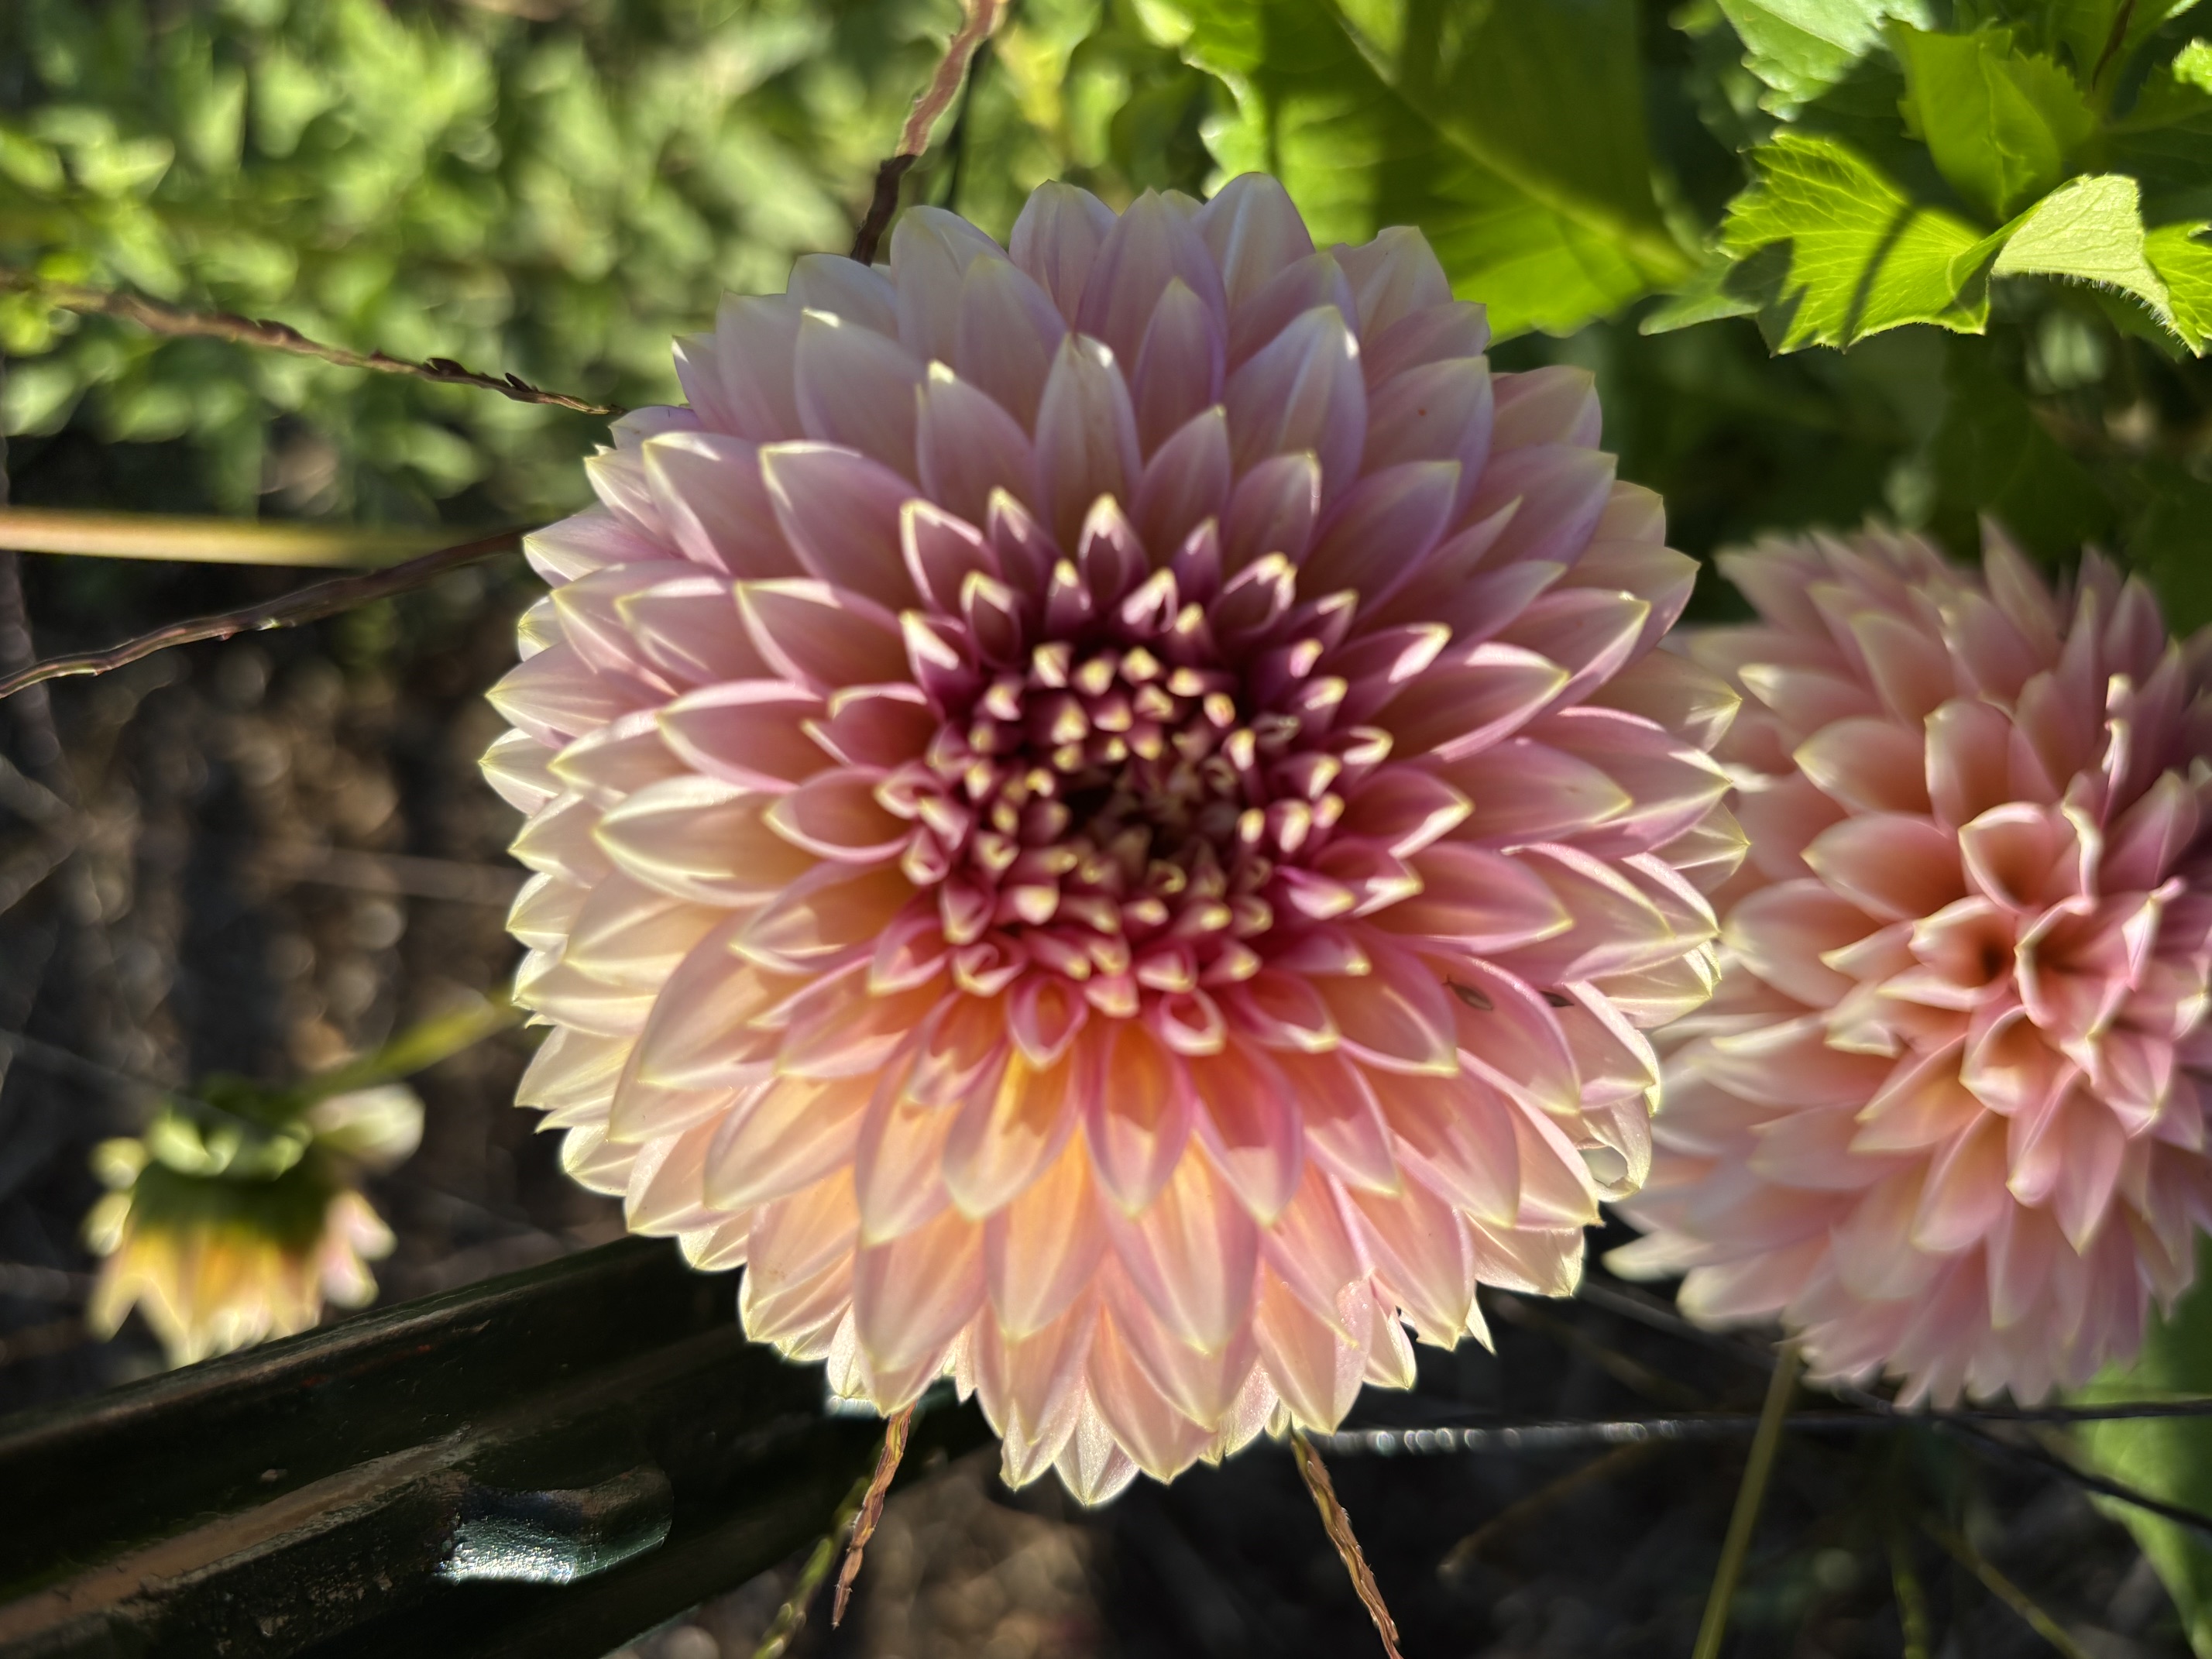
Dahlias
10 min read
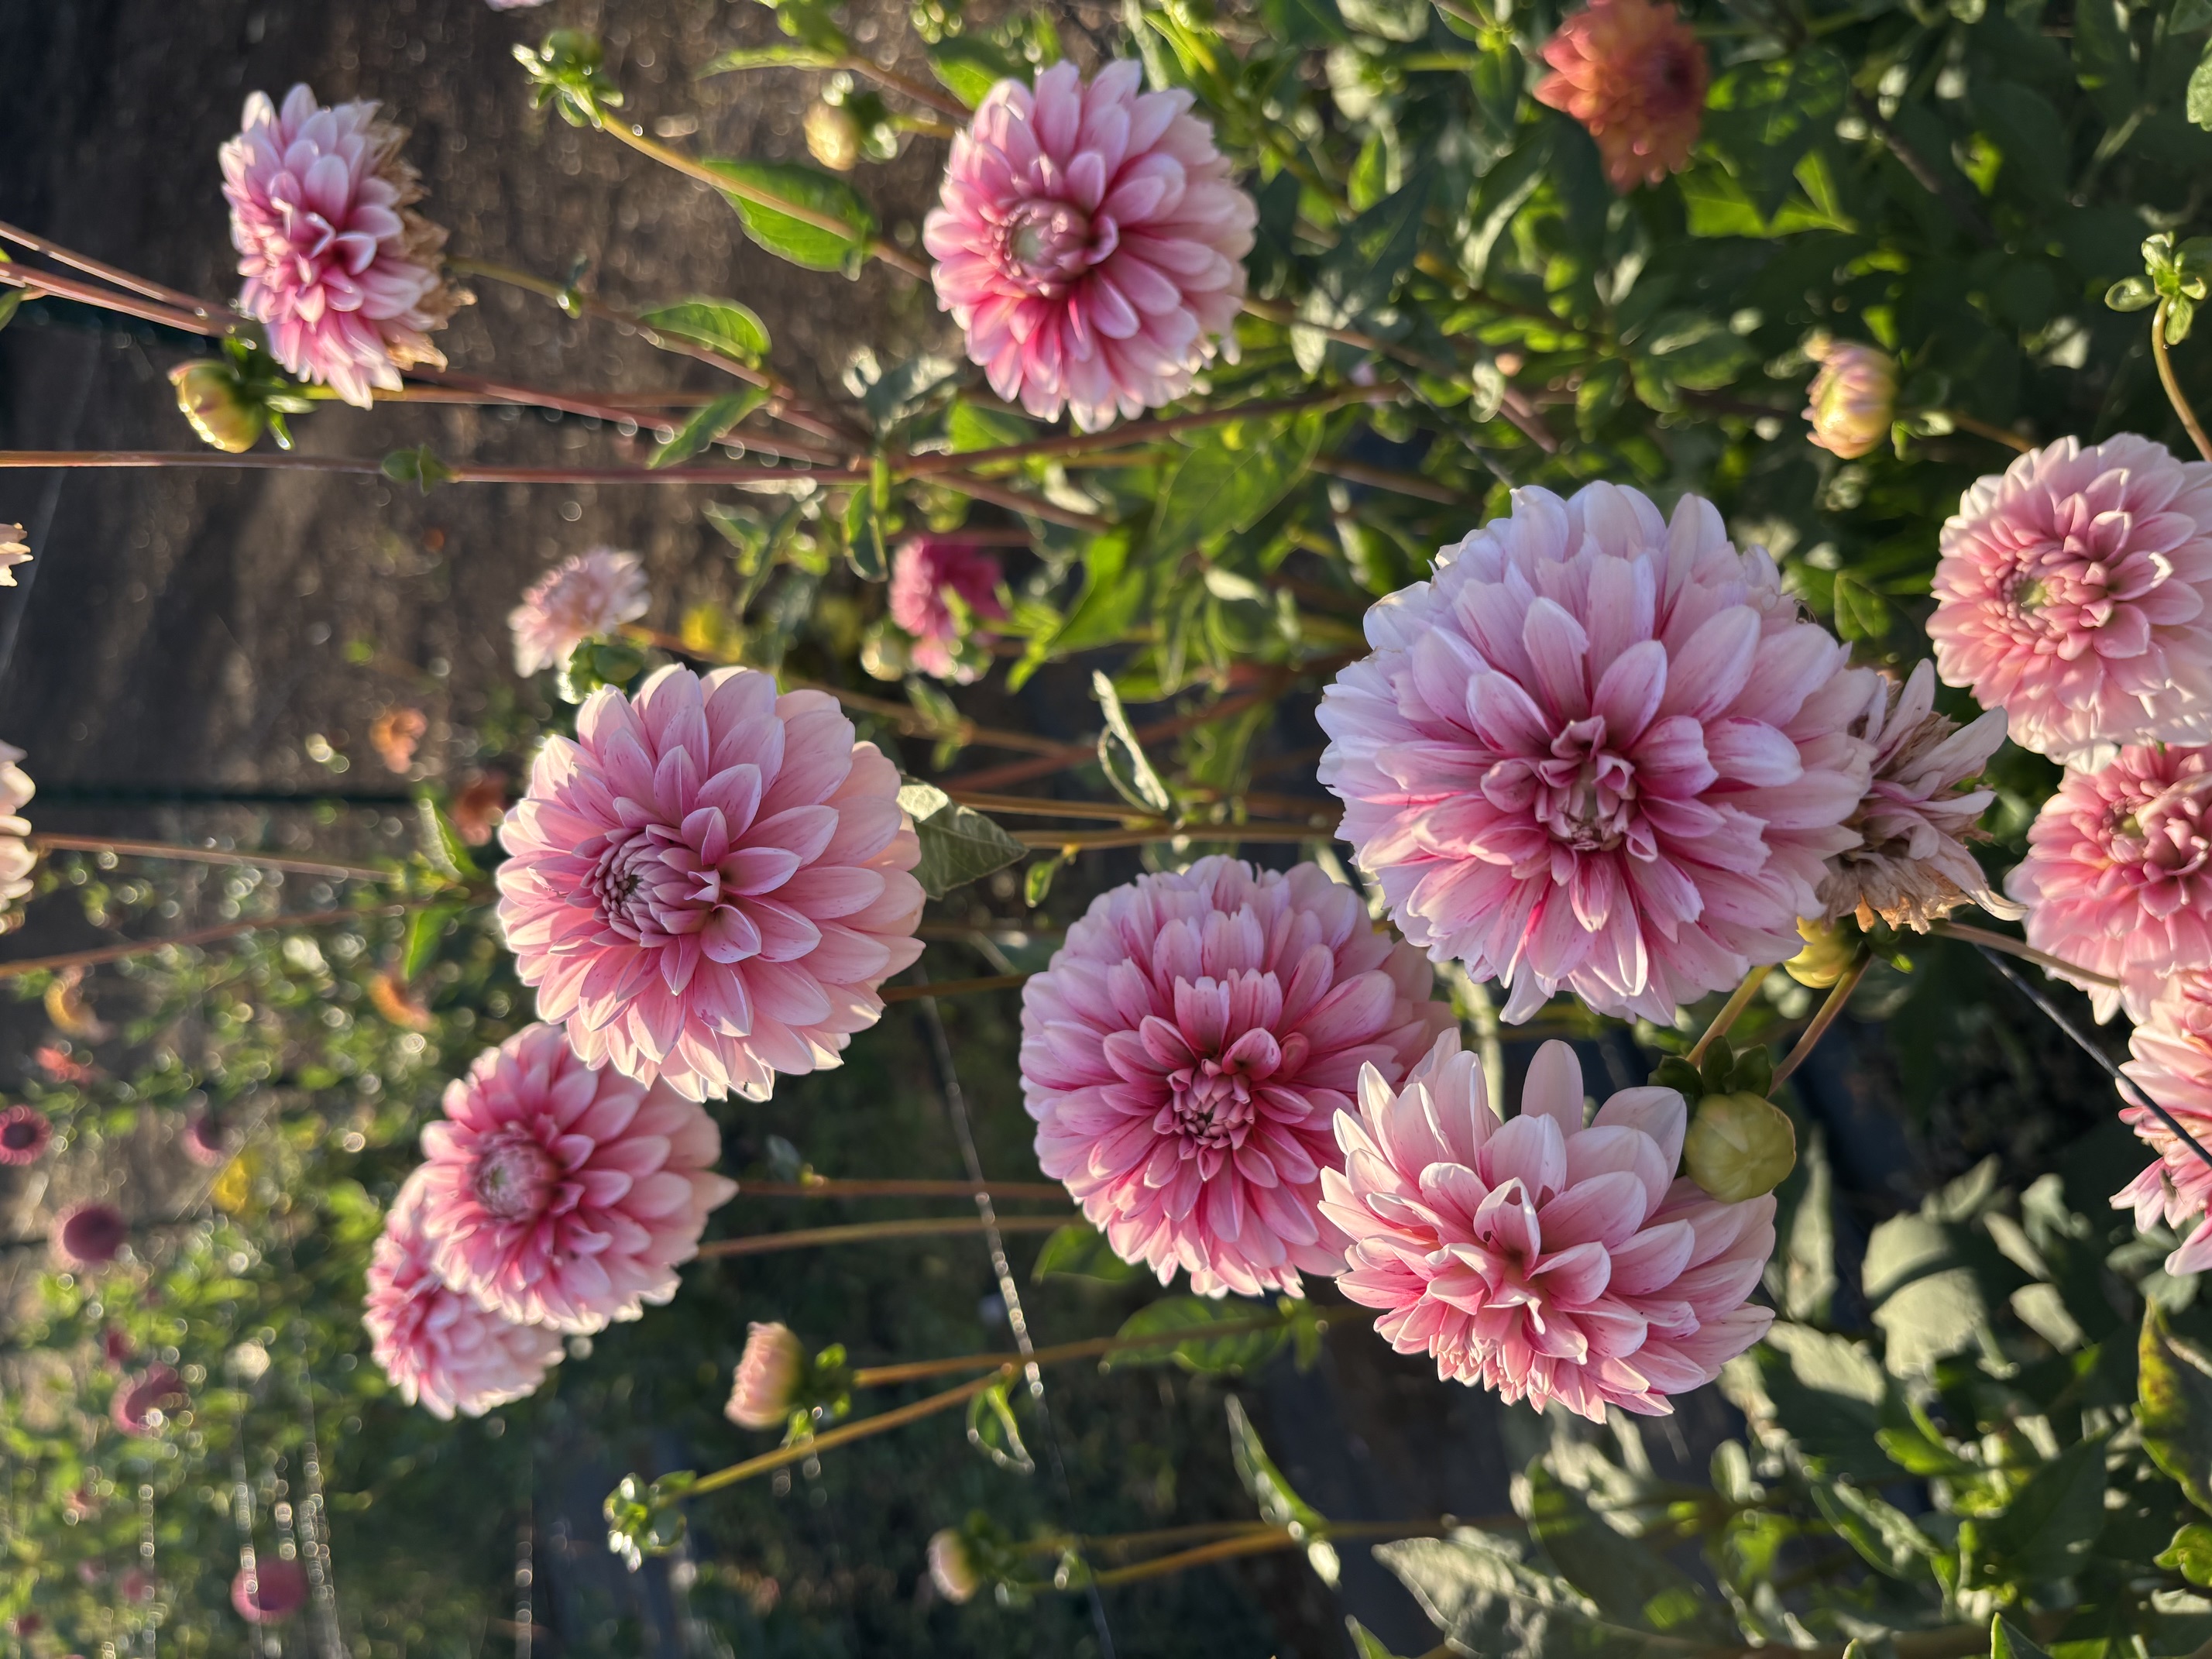
Dahlias are summer's most generous flower — the more you cut, the more they bloom. They're also frost-tender, which means in most of the country growing them well includes a fall lift, a careful divide, and a quiet winter in storage. Here's the whole arc.
Planting
Plant tubers outdoors after your last frost date, once the soil has warmed to at least 60°F. Planting into cold wet soil is the fastest way to rot a tuber. In short-season climates (zones 3–5), starting tubers indoors in pots 4–6 weeks before transplant gives you a meaningful head start on bloom.
- Choose a sunny site (minimum 6 hours direct sun) with well-drained soil. Dahlias hate wet feet.
- Dig a hole 6 inches deep, set the tuber on its side with the eye facing up, and cover with 3 inches of soil. Fill in the rest as the shoot grows.
- Do not water until you see green growth above ground — moist soil is enough to wake the tuber, additional water before sprouting risks rot.
- Space tubers 18 inches apart for cut-flower production, 24–36 inches for landscape display.
- Install stakes or a corral at planting time. Dahlias get tall and brittle, and pushing a stake through tubers later damages them.
Watering
Once sprouted, water deeply 2–3 times per week. Drip irrigation at the base is ideal — overhead watering invites powdery mildew on dahlia foliage. In peak summer heat, mature plants may need an inch of water every 2–3 days.
Pinching
Pinching is non-negotiable for strong, branching plants and long stems. When your plants are 12–16 inches tall and have 4 sets of true leaves, use clean snips to remove the center growing tip just above the third or fourth set of leaves. The plant will respond by sending out multiple lateral stems, doubling or tripling your bloom production.
After pinching, also disbud by removing the two side buds on each flowering stem and leaving the central one — this produces longer stems and larger blooms suitable for cutting.
Fertilizing
Dahlias appreciate steady, gentle feeding. Too much nitrogen produces leafy plants with weak stems and small blooms.
- Work a half cup of low-nitrogen granular fertilizer (something like 5-10-10 or 4-8-4) into each planting hole at the time of planting.
- Side-dress with the same fertilizer monthly from when plants are knee-high through late August.
- Stop all fertilizing 4 weeks before your first expected frost — pushing late growth weakens the tuber for storage.
Cutting and Deadheading
Cut dahlias when the blooms are fully open — unlike many flowers, dahlias do not continue to open after cutting. Cut deeply, taking 12–18 inch stems even on shorter plants; this encourages longer stems on the next round. Cut early in the morning and place stems immediately in cool water. Deadhead spent blooms religiously — a single seed head left on the plant will slow production significantly.
When to Dig (by zone)
In zones 8 and warmer, dahlias can be left in the ground with a heavy mulch of straw or shredded leaves. In zones 7 and colder, they must be lifted and stored.
Wait to dig until two weeks after the first hard frost blackens the foliage. The cold triggers the tubers to form a protective skin (curing) and develop next year's eyes. Digging too early gives you tubers that won't sprout in spring.
- Zones 3–5: Lift mid-September to mid-October, after first hard frost.
- Zone 6: Lift mid-October through early November.
- Zone 7: Lift late October through November, or mulch heavily and gamble.
- Zones 8+: Mulch deeply and leave in the ground; lift every 3–4 years to divide.
Lifting
Cut stems back to 4–6 inches above ground. Using a digging fork (not a shovel — shovels slice tubers), loosen the soil in a wide circle 10 inches out from the main stem and gently lift the entire clump. Shake off loose soil but do not wash yet. Allow clumps to cure upside-down in a shaded, frost-free spot for 1–3 days so the skin firms up and any cuts callus over.
Dividing
Dividing is much easier in the fall than the spring — the eyes are visible on the crown after curing, and the necks haven't dried out.
- Rinse the cured clumps gently and let them dry for an hour.
- Use a sharp clean knife or snips. Each viable division needs a piece of crown, an eye (a small pink or white bump near the crown), and an intact neck connecting to a firm tuber.
- A tuber without an eye will not grow, no matter how plump.
- Cut off the old mother stem and any rotted or hollow tubers. Trim long roots back to clean white tissue.
- Label each division immediately — wet tubers all look alike. A graphite pencil on the tuber skin works well.
Storage
The goal of storage is to keep tubers from rotting (too wet) or shriveling (too dry) for 4–5 months. Target 40–50°F and roughly 80% humidity — a cool basement, insulated garage, or root cellar usually works. A heated house is too warm and too dry.
- Storage medium: slightly damp vermiculite, peat moss, coarse pine shavings, or coco coir all work well. The medium should feel like a wrung-out sponge — barely damp, never wet.
- Containers: plastic bins with a few ventilation holes drilled in the lid, cardboard boxes lined with newspaper, or paper grocery bags inside a milk crate.
- Layer tubers so they don't touch each other — touching tubers spread rot quickly.
- Check storage once a month. Discard any tuber showing mushy spots immediately. If many are shriveling, mist the medium very lightly; if any are rotting, the medium is too wet — leave the lid off for a few days.
- By late February, eyes will start to swell. That's your signal that planting season is approaching.
Keep reading
More care guides.
Care Guide
Garden Roses
A complete guide to planting, feeding, and pruning fragrant repeat-blooming garden roses.
Care Guide
Peonies
Long-lived heirloom peonies thrive on patience, proper depth, and almost no fuss once established.
Care Guide
Fall Tulip Bulbs
Planting, chilling, and aftercare for double tulips and specialty bulbs — from fall ground-in through spring bloom.